How to reduce image file size without losing quality
Learn how to make image files smaller without ruining how they look by choosing the right dimensions, format and compression level for the final use.
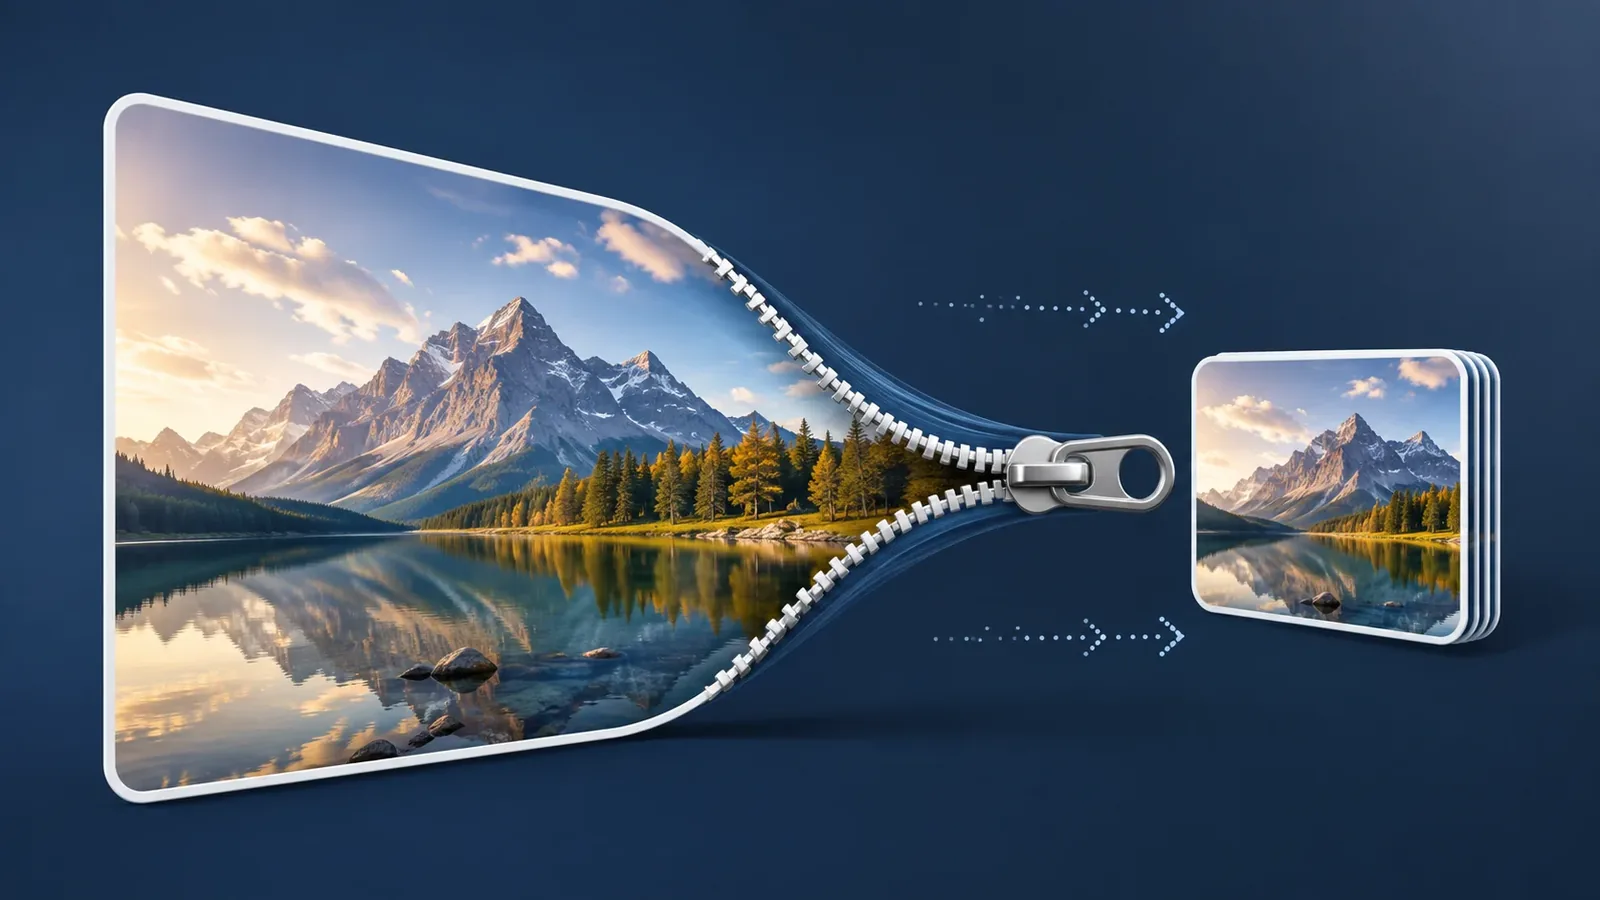
- The best way to reduce image file size is to remove information the final use does not need.
- Resize an oversized image before pushing compression too far; unnecessary pixels are often the biggest source of wasted bytes.
- Choose formats by content: JPEG for most photos, PNG for transparency and crisp graphics, and WebP when it offers a better size-to-quality trade-off.
- Judge quality at the real viewing size, not only by a percentage slider or an extreme zoom.
A smaller image file does not have to look worse. The mistake is assuming that file size and visual quality are controlled by one setting.
When a 6 MB photo needs to fit under a 1 MB upload limit, you can change at least four things: pixel dimensions, file format, compression level and, sometimes, the content itself through cropping. The best result usually comes from adjusting them in that order rather than forcing one quality slider lower and lower.
File size is not the same as image dimensions
A photograph can be 5000 pixels wide and still be strongly compressed. Another image can be only 1200 pixels wide but use an inefficient format and remain surprisingly large.
Dimensions describe width and height in pixels.
File size describes how much storage the encoded image uses, usually in KB or MB.
Reducing one often affects the other, but they are not interchangeable.
This distinction matters because many images are larger than their destination requires.
A modern phone may capture a photo wider than 4000 pixels. If you are placing that photo in a page column that never exceeds 1200 pixels, the extra resolution may never be visible to the reader.
Think in terms of an image budget
Instead of asking “What quality setting should I use?”, define what the image must accomplish.
For example:
- a hero image must look clean at desktop width;
- a profile photo must be recognizable but does not need camera resolution;
- a screenshot must keep text sharp;
- a marketplace upload must stay below a file-size limit;
- a print file needs much more detail than a web thumbnail.
Once the requirement is clear, you can spend your “image budget” on what actually matters.
High quality means sufficient detail for the intended use. It does not necessarily mean keeping the original camera dimensions or the largest possible file.
The four levers that make an image smaller
1. Pixel dimensions
Pixel count is one of the most powerful levers.
A 4000 × 3000 image contains 12 million pixels. A 1600 × 1200 version contains fewer than 2 million.
If the smaller dimensions already exceed the display requirement, you have removed a large amount of data without needing brutal compression.
2. Format
Different formats are efficient with different content.
A photograph saved as PNG may be much heavier than a JPEG or WebP version. A logo with transparency may be a poor candidate for JPEG.
3. Compression
Lossy formats can discard information to reduce size. Moderate compression may be almost impossible to notice; aggressive compression can produce obvious artifacts.
4. Crop
Cropping is often overlooked. If a large portion of an image is empty sky, blank wall or irrelevant background, removing it reduces both dimensions and unnecessary content.
Resize before you over-compress
This is the single most useful rule for everyday optimization.
Consider a 6000 × 4000 photo that will appear 900 pixels wide.
Keep all 24 million pixels
To reach a small file, you may need aggressive compression.
Fine textures can smear and edges can develop halos.
The user downloads data for pixels that never appear at full size.
Resize for the real display
Unused pixels disappear first.
A moderate compression level can often reach the same or a smaller file.
The result tends to look cleaner at the actual viewing size.
If you have to choose where to start, remove unnecessary dimensions before sacrificing visual fidelity.
How to choose between JPEG, PNG and WebP
JPEG for photographs
JPEG is still a practical choice for:
- portraits;
- travel photos;
- product images;
- food photography;
- backgrounds with many colors.
It is designed to compress continuous-tone imagery efficiently.
Watch for block artifacts, ringing around edges and loss of fine texture when compression becomes too strong.
PNG for sharp graphics and transparency
PNG is valuable for:
- logos;
- icons;
- diagrams;
- UI screenshots;
- images with small text;
- transparent backgrounds.
Its lossless nature can preserve crisp edges, but it may be inefficient for full-color photography.
WebP when size matters on the web
WebP can work for both photographic and graphical content and often produces an attractive file-size reduction.
Do not treat it as automatically superior, though. Compare the actual output. A tiny PNG logo may already be optimal, while a large photo may benefit significantly from WebP.
“No quality loss” can mean two different things
Technically, a lossy export does discard information.
But most people searching for a way to reduce image file size without losing quality mean something more practical: they do not want to see the loss.
That is perceptual quality.
A slight difference visible only at 300% zoom is usually irrelevant for a blog image. A soft product label, broken gradient or smeared face is not.
Check your result at the size users will actually see it, then inspect 100% view for problem areas.
Pay attention to:
- faces and skin;
- hair and foliage;
- small text;
- high-contrast edges;
- gradients;
- noisy shadows.
A practical workflow for websites
Web images have two jobs: look good and arrive quickly.
For an article, landing page or product page:
- determine the maximum display width;
- create an image close to that width, with some extra room only when needed;
- choose JPEG or WebP for photos, PNG/WebP for graphics;
- compress moderately;
- inspect the result on desktop and mobile;
- provide responsive variants if your site supports them.
Uploading a 5 MB camera original and letting CSS shrink it visually is not optimization. The browser may still need to download the full file.
A practical workflow for email and forms
Upload limits change the objective.
Suppose a form accepts a maximum of 1 MB and your photo is 5.4 MB.
Start by checking whether the dimensions are excessive. If the file is 4032 pixels wide but only needs to serve as a document preview, reducing dimensions may do most of the work.
Then:
- use an appropriate format;
- compress in small steps;
- keep a margin under the limit;
- check important text or details before uploading.
If the limit is 1 MB, targeting roughly 850–950 KB is safer than stopping at 999 KB.
How to reach 500 KB without wrecking the image
A lower target may require more compromise, but the order stays the same.
Before increasing compression again, ask:
- can the dimensions be slightly smaller?
- is there empty space that can be cropped?
- is the current format efficient for this content?
- does the image contain detail that the final use will never show?
Do not sacrifice readability or critical detail just to hit a number. Legal documents, medical images, technical diagrams and print files may require a larger file than an arbitrary upload target allows.
Use visual checkpoints instead of guessing
The phrase “quality 80” is not a universal standard. Different tools and encoders can produce different results from the same number.
A better method is to compare versions.
- The image is no larger in pixels than the use requires.
- The chosen format matches the content.
- Small text is still readable.
- Edges do not show obvious halos.
- Gradients remain smooth.
- Faces and textures still look natural.
- The file is comfortably below the target limit.
- The original master file is preserved.
If all of those are true, the optimization is probably successful even if some technical information was discarded.
Try the compressor with a clear target
A compression tool works best when you already know the goal.
ProntoUso can help you compare the original file with a smaller version and adjust the output until the trade-off makes sense.
Compress JPG, PNG, and WebP images by quality or exact target size in KB.
Useful targets sound like this:
- “This needs to be under 1 MB.”
- “The page only displays this image around 1200 px wide.”
- “The screenshot text must stay sharp.”
- “I want to cut page weight without making the product photo look cheap.”
A clear target tells you when to stop compressing.
Three common scenarios
A 7 MB product photo
Original: 5000 × 3333 px.
Display size: around 1400 px.
Good approach: keep the original as a master, resize a copy to roughly the needed range, test JPEG and WebP, then apply moderate compression.
There is rarely a reason to send the 5000-pixel source to every shopper.
A screenshot with tiny text
Here, compression artifacts are more noticeable because letters and interface lines depend on sharp edges.
PNG or WebP may perform better than a heavily compressed JPEG. Test readability before chasing a tiny file.
A photo for a support ticket
The user mainly needs the support agent to see the issue.
You can often reduce dimensions substantially and still preserve all useful information. A 12-megapixel camera file is usually unnecessary.
Mistakes that waste quality
Re-saving a lossy file repeatedly
Every lossy generation can add damage. Create new optimized versions from the best available original.
Assuming lower KB always means better optimization
A 150 KB image with ugly artifacts is not “better” than a clean 350 KB image if both fit the requirement.
Using one format for everything
Photography, icons, screenshots and transparent graphics have different needs.
Keeping huge originals on web pages
A large source does not improve an image that is always displayed small.
Evaluating only at extreme zoom
Zoom helps diagnose problems, but normal viewing conditions should decide whether the quality is acceptable.
Keep a master, publish a derivative
For photos or assets you may reuse, separate the original from the delivery version.
The master keeps maximum useful quality.
The derivative is resized and compressed for a specific task: web, email, upload, thumbnail or sharing.
That habit prevents an important mistake: optimizing the only copy and later discovering that you need a larger or cleaner version.
The smallest useful file wins
There is no perfect file size for every image and no single compression percentage that guarantees quality.
A dependable decision process is:
define the use → remove excess pixels → choose the format → compress gradually → inspect the result.
That sequence is much more reliable than starting with a quality slider. It also makes strict targets such as 1 MB or 500 KB easier to reach because you know which variable to adjust before throwing away visible detail.