How to Resize an Image Without Distortion: Width, Height, and Aspect Ratio
Learn how to resize an image without stretching or squashing it, preserve the correct aspect ratio, and choose suitable dimensions for different uses.
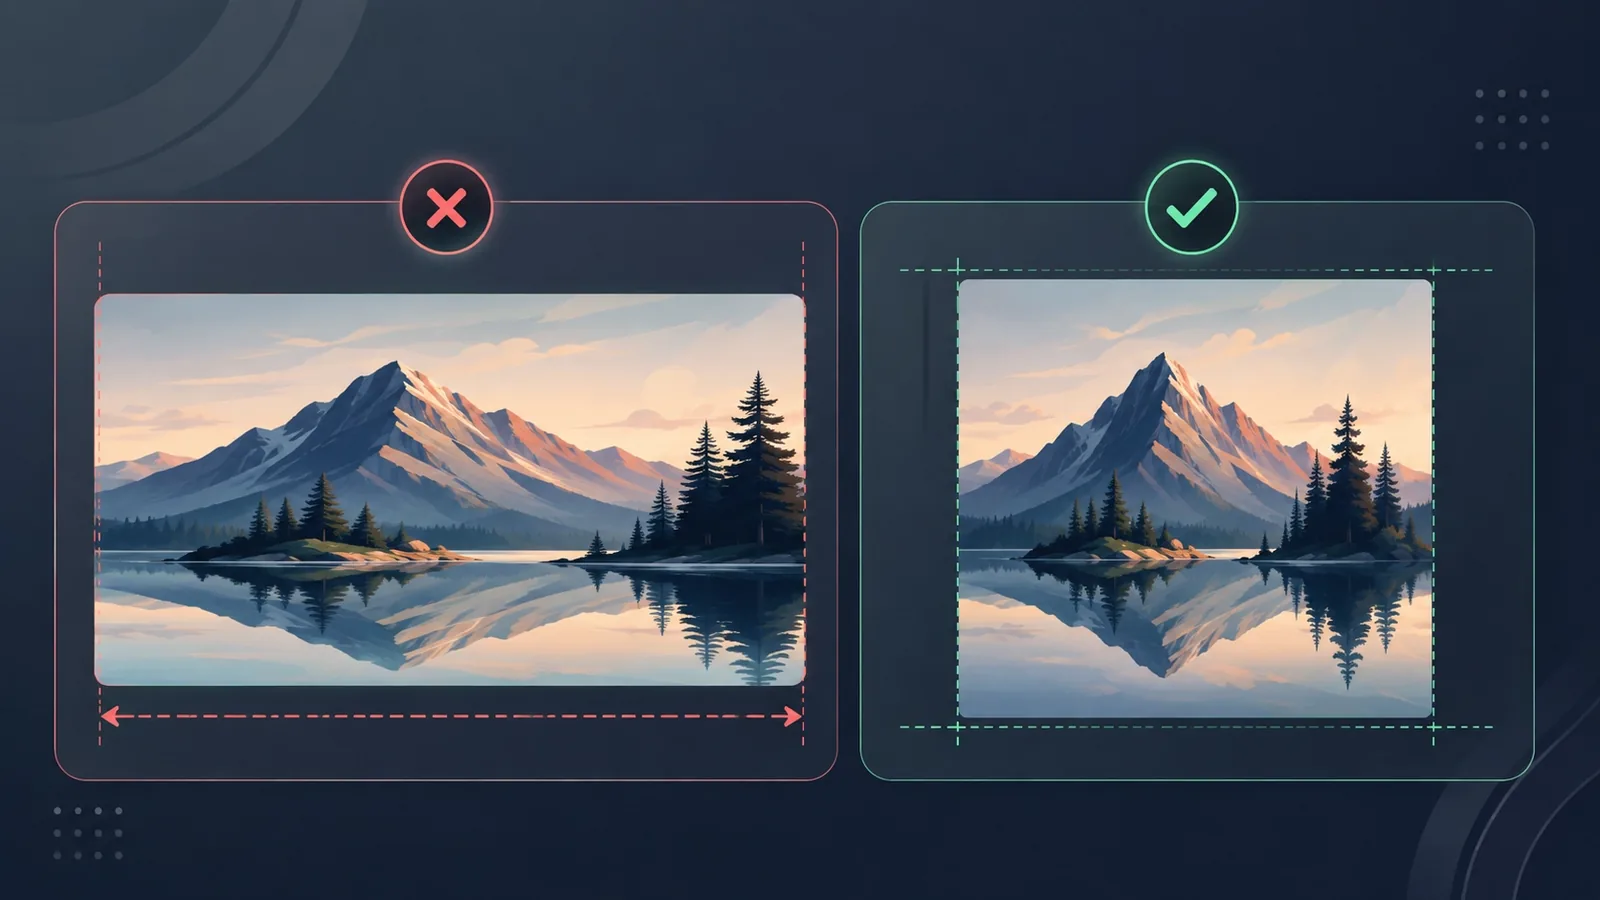
- Resizing an image without distortion means changing its dimensions while keeping the same relationship between width and height.
- If the original image is 16:9, 4:3, 3:2, or 1:1, the resized version should preserve that aspect ratio if you want the picture to keep its natural shape.
- When a destination requires a different aspect ratio, cropping or adding space is usually better than stretching the image.
- Output format and quality matter too: dimensions determine how large the image is in pixels, while compression and format affect the final file size.
Resizing an image sounds straightforward: enter a new width, enter a new height, and export. The trouble starts when those two numbers do not match the shape of the original image. Faces become wider or taller, circles turn into ovals, logos look squeezed, and screenshots can become noticeably stretched.
You do not need advanced photo-editing skills to prevent that. The key is understanding how width, height, and aspect ratio work together. Once that relationship is clear, you can resize images for websites, presentations, online stores, documents, portfolios, and social content without distorting what is in the frame.
Why do images become distorted when resized?
Every digital image has two basic dimensions: width and height, usually measured in pixels. An image that is 1920 × 1080 pixels is 1920 pixels wide and 1080 pixels tall.
Those dimensions also define an aspect ratio. A 1920 × 1080 image simplifies to 16:9. In other words, for every 16 units of width, there are 9 units of height.
Resize that image to 1280 × 720 and the relationship stays 16:9. The image becomes smaller, but its shape stays intact. Force it into 1280 × 800, however, and width and height are no longer changing by the same proportion. If the software fills the exact target area by stretching the pixels, the image will look distorted.
Aspect ratio is the mathematical relationship between an image's width and height. Preserving that relationship is the most important rule for resizing without stretching or squashing the content.
The important point is that distortion is not caused simply by making an image larger or smaller. It happens when width and height are scaled by different amounts.
How to calculate a proportional width or height
You do not need a list of preset image sizes. If you know the original dimensions, you can calculate any proportional size.
When you know the new width, calculate the new height with:
new height = original height × new width ÷ original width
Suppose a 1920 × 1080 image needs to be 1200 pixels wide:
1080 × 1200 ÷ 1920 = 675
The proportional result is 1200 × 675 pixels.
If the target height is the known value, reverse the calculation:
new width = original width × new height ÷ original height
For the same 1920 × 1080 image, a target height of 600 pixels gives:
1920 × 600 ÷ 1080 ≈ 1067
A size of roughly 1067 × 600 pixels keeps the original shape. A one-pixel difference caused by rounding is normal and is not visually significant.
If you would rather verify the numbers than do the arithmetic each time, you can check the aspect ratio and matching dimensions from the original width and height. The formula is still the same; the calculator simply saves a few steps.
How to resize an image without distortion
The safest workflow starts by deciding what actually needs to be constrained. Avoid choosing two arbitrary target numbers before you know the original aspect ratio.
- Check the original width and height of the image.
- Decide whether the main constraint is width, height, or a maximum box the image must fit inside.
- Calculate the second dimension from the original aspect ratio.
- Do not force an exact width and height when the destination has a different shape from the source image.
- Choose an output format that fits the content and where the image will be used.
- Adjust export quality if needed, then inspect the result before replacing or publishing the original file.
Width, height, or a maximum box?
Most resize jobs fall into one of three situations.
The first is a maximum width. A website content column might accept images up to 1200 pixels wide. In that case, set the width to 1200 and let the height follow proportionally.
The second is a maximum height. This is common when an image must fit inside a vertical layout or slide area. Set the height and calculate the corresponding width.
The third is a bounding box, such as 1200 × 800 pixels. Here, the image does not necessarily need to end up exactly 1200 × 800. It only needs to fit inside those limits without exceeding either dimension.
Take a 4000 × 3000 photo with a 4:3 aspect ratio. Forcing it to 1200 × 800 would change its shape. If the goal is to keep the full frame inside that box, a proportional size is about 1067 × 800 pixels.
This is often the best choice for editorial images, portfolios, CMS uploads, and product photos where preserving the entire frame matters. When you are ready to apply the dimensions, you can resize one image or a batch to chosen pixel dimensions; the useful part is deciding the correct numbers first, not relying on the resize step to guess your intent.
Preserve the aspect ratio or use an exact size?
Both approaches can be valid, but they solve different problems.
Preserve the aspect ratio
Keeps the original shape of the image.
Best for photos, logos, illustrations, and screenshots when you do not want to crop or stretch.
One final dimension may be smaller than the maximum available space.
Force an exact width and height
Produces the exact dimensions you enter.
If the destination aspect ratio differs from the source, the image can become distorted.
To get an exact canvas size without distortion, cropping or adding padding is usually a better solution.
A request such as “I need this image at 1200 × 800” can mean two different things. Sometimes it means “make the whole image fit within 1200 × 800.” Other times it means “the final file must be exactly 1200 × 800.” Those are not the same task.
If the final canvas must be exact and the source has another aspect ratio, you need to decide what can change: the crop, the surrounding space, or the composition. Stretching should normally be the last option.
Resizing, cropping, and compressing are different tasks
These terms are often used together, but they solve separate problems.
Resizing changes pixel dimensions. Cropping removes part of the image to change framing or aspect ratio. Compressing reduces the amount of storage or bandwidth the file requires, without necessarily changing its width and height.
A practical workflow might be: crop first if the framing needs to change, resize to the dimensions you actually need, then optimize the file size. If the pixels are already correct but the image is still too heavy for a webpage, it is usually better to compress the finished image than to keep shrinking its dimensions unnecessarily.
Which format should you use after resizing?
The output format affects transparency, compatibility, visual quality, and file size.
JPEG is a common choice for photographs and images with smooth color transitions. It can produce relatively small files, but it uses lossy compression.
PNG is useful when you need transparency, crisp edges, diagrams, interface graphics, or certain screenshots. For photographic content, it can be much larger than JPEG or WebP.
WebP is widely used on the web and often provides a useful balance between visual quality and file size.
Quality settings matter as well. Reducing dimensions can lower file size, but a poorly chosen output format may still produce a file that is larger than necessary. On the other hand, aggressive compression can create visible artifacts around text, edges, or detailed textures.
Upscaling a small image does not restore detail that was never captured. More pixels can be generated, but the result may still look soft or pixelated. Whenever possible, start from the highest-resolution source you have.
How to resize multiple images without distorting the batch
Batch resizing is useful for product catalogs, article images, portfolios, and other groups of files that need consistent dimensions. It works best when the source images share a similar aspect ratio.
If every image is 4:3, applying the same proportional dimensions is straightforward. Problems appear when one batch includes square, portrait, and widescreen images.
Imagine sending three images to the same 1200 × 800 target: one is 4:3, one is 16:9, and one is 1:1. Only one shape can naturally match the destination. The others must be stretched, cropped, padded, or handled separately.
A safer approach is to group files before resizing:
- 16:9 images together;
- 4:3 images together;
- 3:2 photos together;
- square 1:1 images together;
- portrait images grouped by similar ratios.
Then choose proportional dimensions for each group. ## Practical examples of proportional resizing
A 1920 × 1080 image is 16:9. Proportional sizes include 1280 × 720, 960 × 540, and 640 × 360.
A 4000 × 3000 photograph is 4:3. Reduce its width to 1600 and the matching height is 1200. Limit the height to 900 and the matching width is 1200.
A 1080 × 1080 image is 1:1. Width and height should stay equal if you want to preserve the square: 800 × 800, 600 × 600, and 300 × 300 all work.
A 1200 × 800 photo is 3:2. Resizing it to 900 × 600 keeps its shape. Sending it directly to 900 × 900 does not. To make it square without stretching, you would need to crop part of the frame or add space around it.
There is no universal “best image size.” The right dimensions depend on where the image will be used. The aspect ratio depends on what you want to preserve.
Common image-resizing mistakes
One of the most common mistakes is selecting width and height simply because those numbers match an available slot. A 1000 × 600 area does not mean every source image should be stretched to exactly 1000 × 600.
Another mistake is enlarging a low-resolution image and expecting it to become sharper. Resizing cannot recreate missing information.
It is also easy to confuse pixel dimensions with file size. An image may be 1200 × 800 and still use several megabytes depending on format, quality, and visual complexity.
With batch processing, do not assume every file has the same aspect ratio just because the images belong to the same project. Check the source dimensions first.
- Check the original width and height.
- Identify the image's aspect ratio.
- Decide which dimension actually needs a limit.
- Calculate the other dimension proportionally.
- Crop when you need a new aspect ratio without stretching the content.
- Avoid unnecessary upscaling of small source images.
- Choose format and quality for the final use, not just for the editor.
- Separate mixed-aspect-ratio images before batch resizing.
The rule that prevents most distortion
If you remember one principle, make it this: do not change width and height independently when you want to preserve the full image.
Choose one dimension and calculate the other from the original aspect ratio, or fit the image inside maximum boundaries. If the destination uses a different shape, treat it as a framing problem: crop the image or add space instead of stretching it.
Once you think in those terms, resizing stops being trial and error. You can decide whether the real problem is dimensions, framing, format, compression, or source quality—and produce images that fit their destination without sacrificing the way the content is supposed to look.